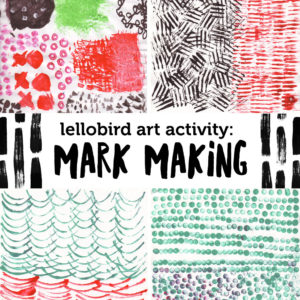
Lesson: Mark-Making
Introduction
Let your creativity flow! Mark-making is the process of using various tools to create lines, textures and shapes in your art. It can be the whole art project, or it can be a piece of a larger project. It’s also a good way to warm up for other art and can be very meditative.
You can adapt this activity to various age and skill levels, attention spans and interests. (I’ve done this one with a classroom full of 7-year-olds, which is inspiring and exhilarating, and sometimes messy.) There’s no right or wrong way to make art – have fun with it! You can do this project with your family, your roommate, your significant other, your friend – you can even work together online if you want to include someone who’s far away.
Materials
This project can be adapted to use whatever art materials you have on hand!
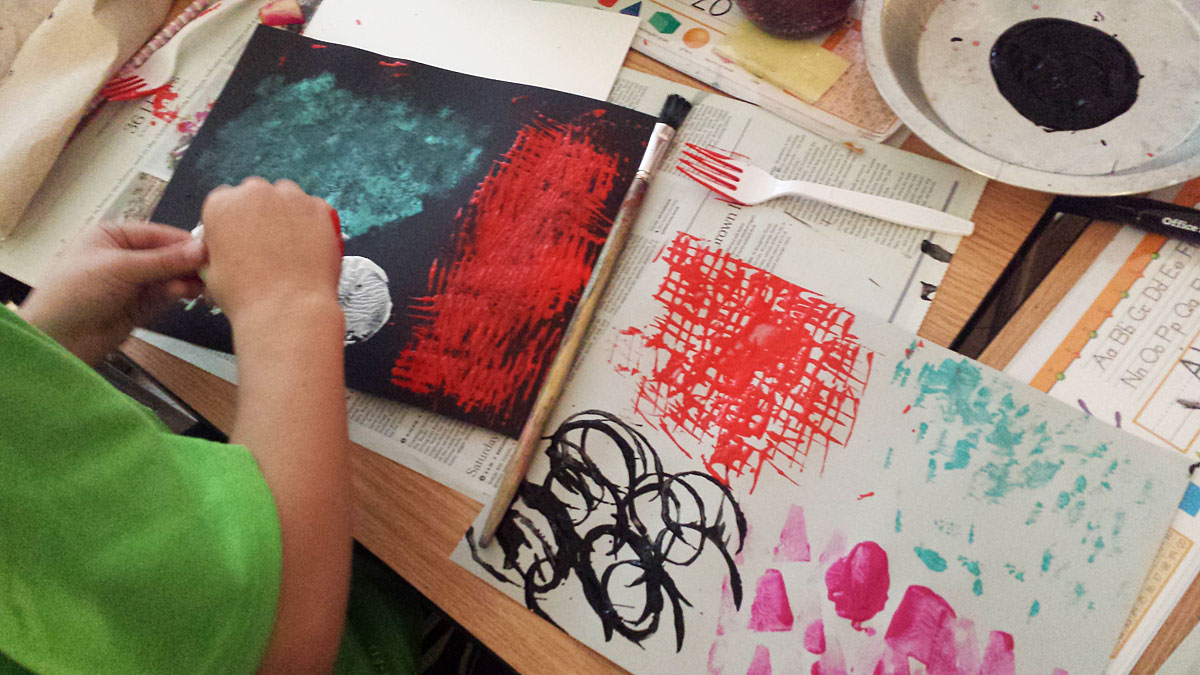
You’ll need something to make the marks with (Sharpie, poster paint, gouache, India ink, markers, etc.) and something to make the marks on (drawing paper, regular old white copy paper, cardstock, newspaper, cereal boxes, junk mail, wrapping paper or anything else that will hold paint). Black paint or ink works well for starting out. If you’re using dark paper, try using white paint or paint pens. You can use color, too, but sometimes it’s easier to think about the shapes if you keep your color palette simple – maybe black or white and one or two other colors.
To make a variety of marks (and help loosen up your art), gather some interesting objects to use to make the marks in addition to pens and brushes – whatever you have on hand that has an interesting shape or texture (that’s okay to get paint on). Here are some ideas to get you started:
- Natural materials (sticks, leaves, feathers)
- Fingers
- Empty cardboard toilet paper rolls
- Coffee stir sticks
- Cotton buds
- Forks
- Potato stamps
- Pieces of fabric or carpet
- Bubble wrap
- Kitchen tools (dish scrubbers, sponges, a spatula, an old-fashioned potato masher)
- The eraser end of a pencil
- Spools
- Bingo daubers
How-to
It’s always a good idea to start any art project by putting down some newspaper or a dropcloth to protect your work surface.
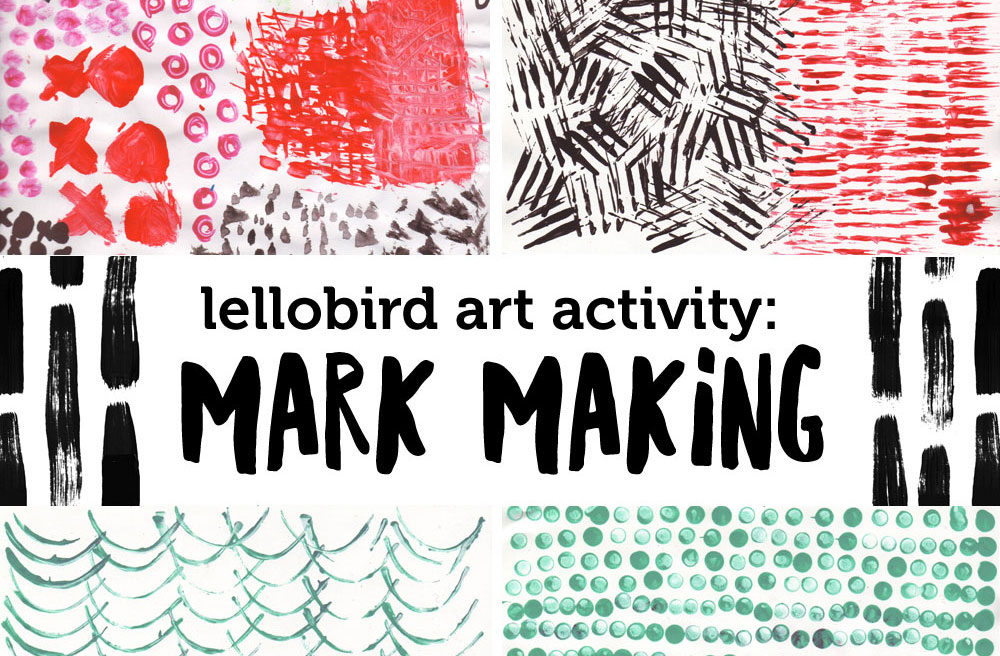
Draw or stamp a pattern on your paper or cardstock. You can cover the whole page with one kind of mark, or divide it up into sections and make different kinds of marks. Or make one kind of mark over another kind of mark. Don’t be too precise – try to just doodle whatever shapes you feel like – scribbles, dots, lines, whatever – or make the same mark over and over without thinking too much about it. If you need some inspiration, I put together a Pinterest board with ideas for the class I taught.
Tip: Some kids (or adults!) – especially the perfectionists – have a hard time getting started because they aren’t sure what kinds of marks to make – stamping repeat designs with an object is a great entry point for people who are struggling with what to do.
Extend it
- Play some music while you work and let the music inspire your marks.
- Go for a walk before you start and pick up things like sticks and leaves that you could use to make marks.
- Look at mark-making by artists like Cy Twombly, Eric Carle and Yayoi Kusama (kids will particularly like her sticker-covered Obliteration Room).
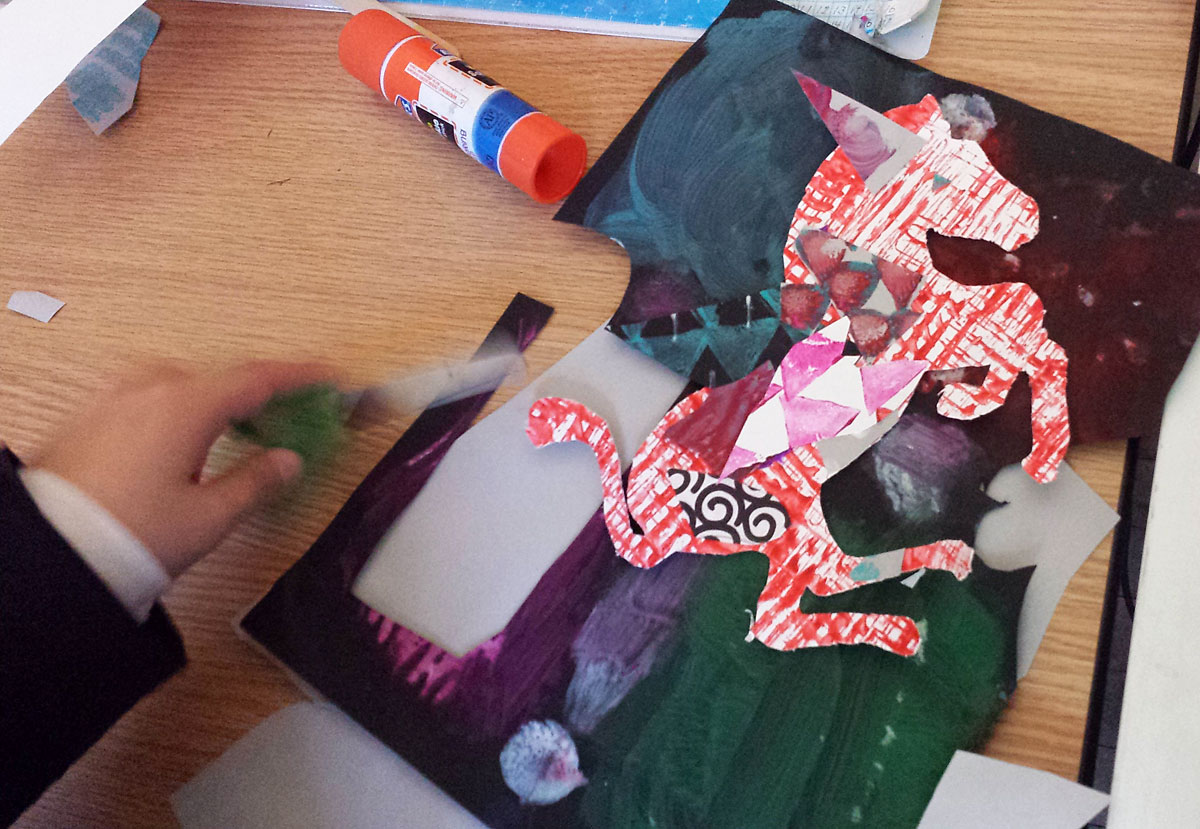
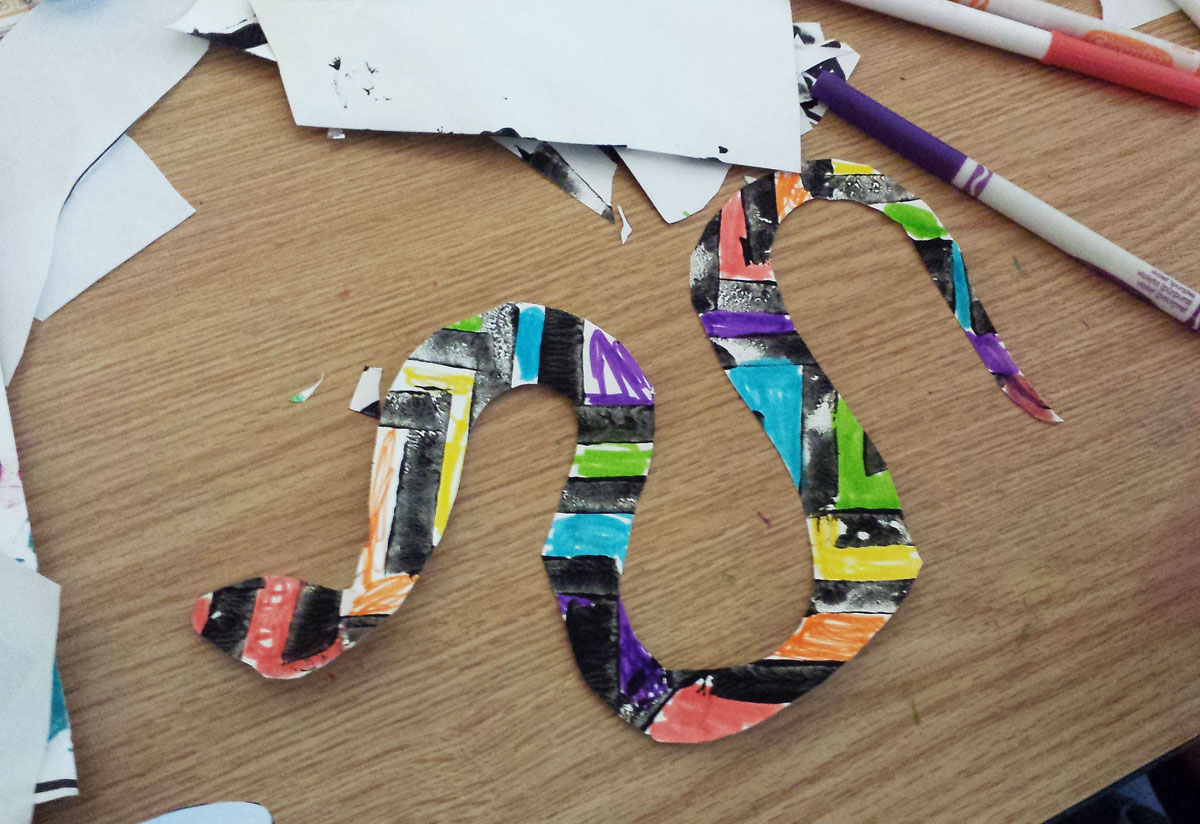
- Cut up your mark-making papers and make a collage. Make an animal, a forest or anything else you can think of. It can even be abstract. Trade papers with your art partners (maybe those are your artners?) to get a fun mix of designs to work with. (If you’re using paint, it’s a good idea to make this a two-day project so your designs have time to dry before you cut them up.)
- Hang your art up on the wall, or mail it to someone to let them know you’re thinking of them.
Most importantly: Have fun!
Pin it:
Related Posts
-
Printable: Eleven
February 6, 2024 -
Choosing a 100 Day Project
April 2, 2020